Working with the channels in 'calculations' gives you a good result. There are 3 colour channels. Red, where all the contrast information is. Green, where all the detail is kept. Blue, when working with black and whites is where all the unwanted stuff is such as grain. Getting rid of the blue will create a much nicer image. This is how you do it:
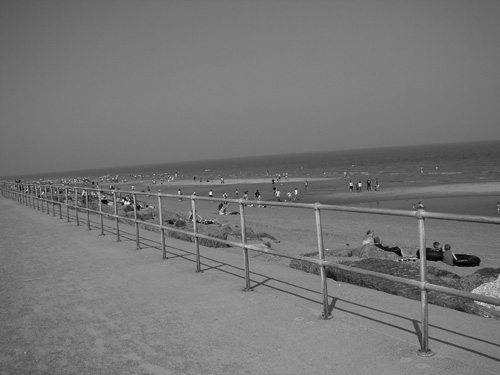
Heres the image I am going to be using.

'Calculations' can be found in the 'image' menu. In Source 1: you use the green channel. In Source 2: you use the red channel.

Depending on the image and the effect you want you can play with the blending modes. I am wanting a darker image with contrast so I am using the multiply at 90% opacity.
Note: If your going to set it to result as a new channel your going to have to greyscale the image and select the new channel to save.
The finished result:
The image is much better than the normal grayscale:

You can always play around with 'calculations' tool till you get the result you want.
Tags:


No comments:
Post a Comment